Here is a bunch of crafts you can do on rainy days!
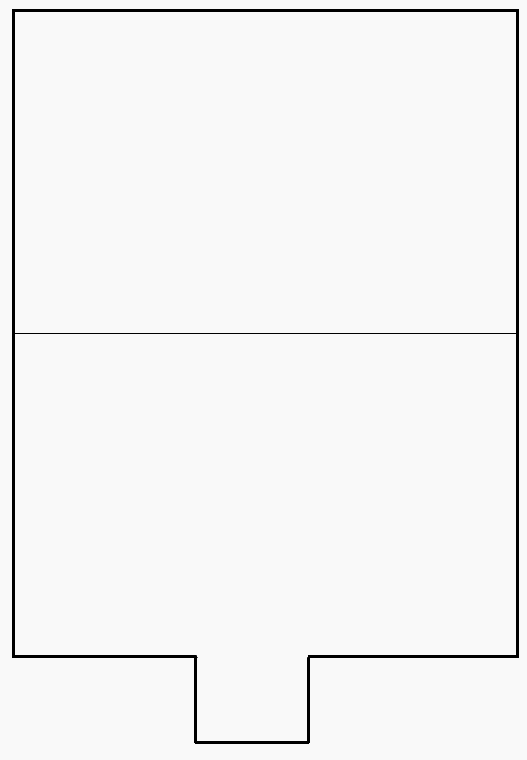
- Diary Cover Pattern
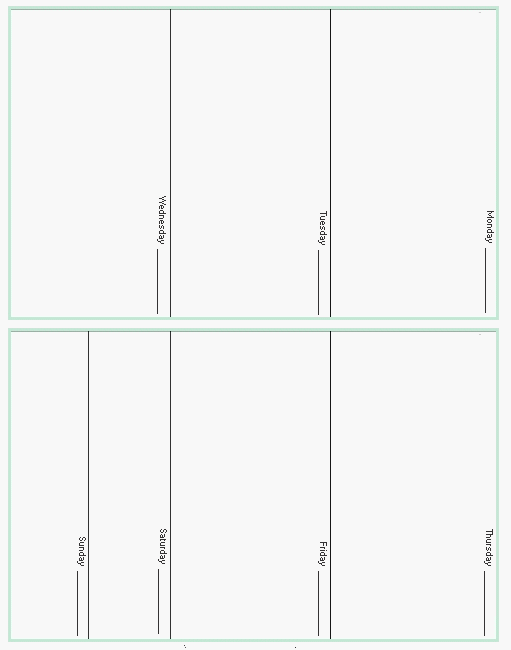
- Diary Pages
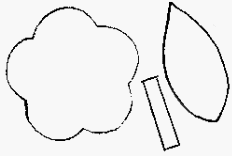
- Flower pattern
- For a notebook or journal, you will need a supply of lined or blank paper
- Craft fun foam sheets in a variety of colors
- hole punch
- Ribbon
- small tab of Velcro
- letter beads (optional)
- tacky craft glue or low-temperature hot glue
Girl's Diary or Notebook
Craft Instructions:
To make a girl's diary, print and cut out all the patterns, including at least four of the two inside diary pages.
To
make a notebook or journal, print the cover pattern, the flower pattern
(if using), and one sheet of the diary pages to cut out and use as a
template for your own lined or blank paper.
Trace around the cover pattern and flower patterns on desired craft foam colors and cut out.
Cut the foam cover in half, where the center line is shown on the pattern, to make separate front and back pieces.
Line
up the cover, with the tabbed section on the front and one of the diary
pages inside. Use the paper punch to make three equally spaced holes on
the left-hand side.
Stack the remaining inside pages, keeping
them lined up neatly. Place the hole-punched diary page on top of these
pages to show you where to make the remaining punch holes. Punch
through all the pages.
Line up the top cover, inside pages, and
the back cover, then thread a length of ribbon or yarn through each of
the holes and tie in a bow at the front.
Glue on the flowers or other cover decorations.
Hot
glue a small square of velcro on the inside of the tabbed latch. Glue
the matching piece of velcro to the back of the diary to keep it closed.
If
you don't have velcro, you could cut off the tab completely, leaving
the diary as an open book. Alternatively, you can punch a hole at the
end of the tab, punch a matching hole in the back cover, and tie the
diary closed with ribbon
Now here's something for the boys:
| Nighthawk Paper Airplane |
|
|
|||
|
|||||
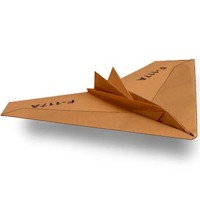 This craft is reprinted courtesy of AmazingPaperAirplanes.com.
June 6th is the anniversary of D-Day. Take the day to build a paper airplane with a World War II vet or enjoy it with your father on Fathers Day. Supplies 8 1/2"x11" paper Patience Tape Click here for printables Instructions Click on printables for illustrated instructions.
Start with an 8 1/2"x11" paper. Fold paper in half and unfold. Fold the top corners to the center crease.
Fold the top point down to point o.
Fold top side corners to points as shown in diagram. Make sure both are symmetrical.
Fold the fuselage section and unfold. Note the angle of the crease line.
Fold the top right again with slightly different angle as shown in diagram Fold up triangle corner and unfold. This part will be tail fin section.
Fold in half as shown in A diagram. Fold the fin diagonally and unfold as shown in A. Press tip down between the layers using existing creases as shown in B diagram. (This is an inside reverse fold)
Use small piece of cellophane tape to make flat wings as shown in diagram.
An extra tape may be needed at the bottom of the fuselage. It is ready to fly. | |||||